Woven Headband

Materials
Old T-shirt(s)
Hair Tie
Rotary Cutter or Scissors
Sewing Machine or Needle/Thread
Hot Glue Gun
Masking Tape
Start by cutting 5 strips from the bottom of an old t-shirt; cut through both the front and back layer. You can do all the same color or mix and match. For a thicker headband (shown above, about 1 1/4") I cut each strip 1" wide. For a thinner headband (about 3/4") I cut each strip 1/2" wide.

After you have all five strips, cut one side open on each.

Stack the 5 five strips on top of one another. (The color on top will be the color that you weave through the other 5 strips. If you are using multiple colors, the second color will be one side and the bottom color will be the other side, with the others in the middle.) Using about a 1/4" seam, sew the stack of strips together using a sewing machine or by hand sewing.

Take a hair tie and bring it up to the seam by weaving it between the 5
strips, then secure the strips to a hard surface with masking tape.

Slightly curl the raw edges under and start weaving the top layer
through the other four layers. Start by going under the second strip,
over the third, under the fourth, and over the fifth (bottom). Then
wrap your top strip (pictured in teal) around the bottom strip and weave
back in the other direction. It is a little tricky to get started, but
once you get it going it is pretty easy. I also taped down the hair
tie to keep it out of the way.

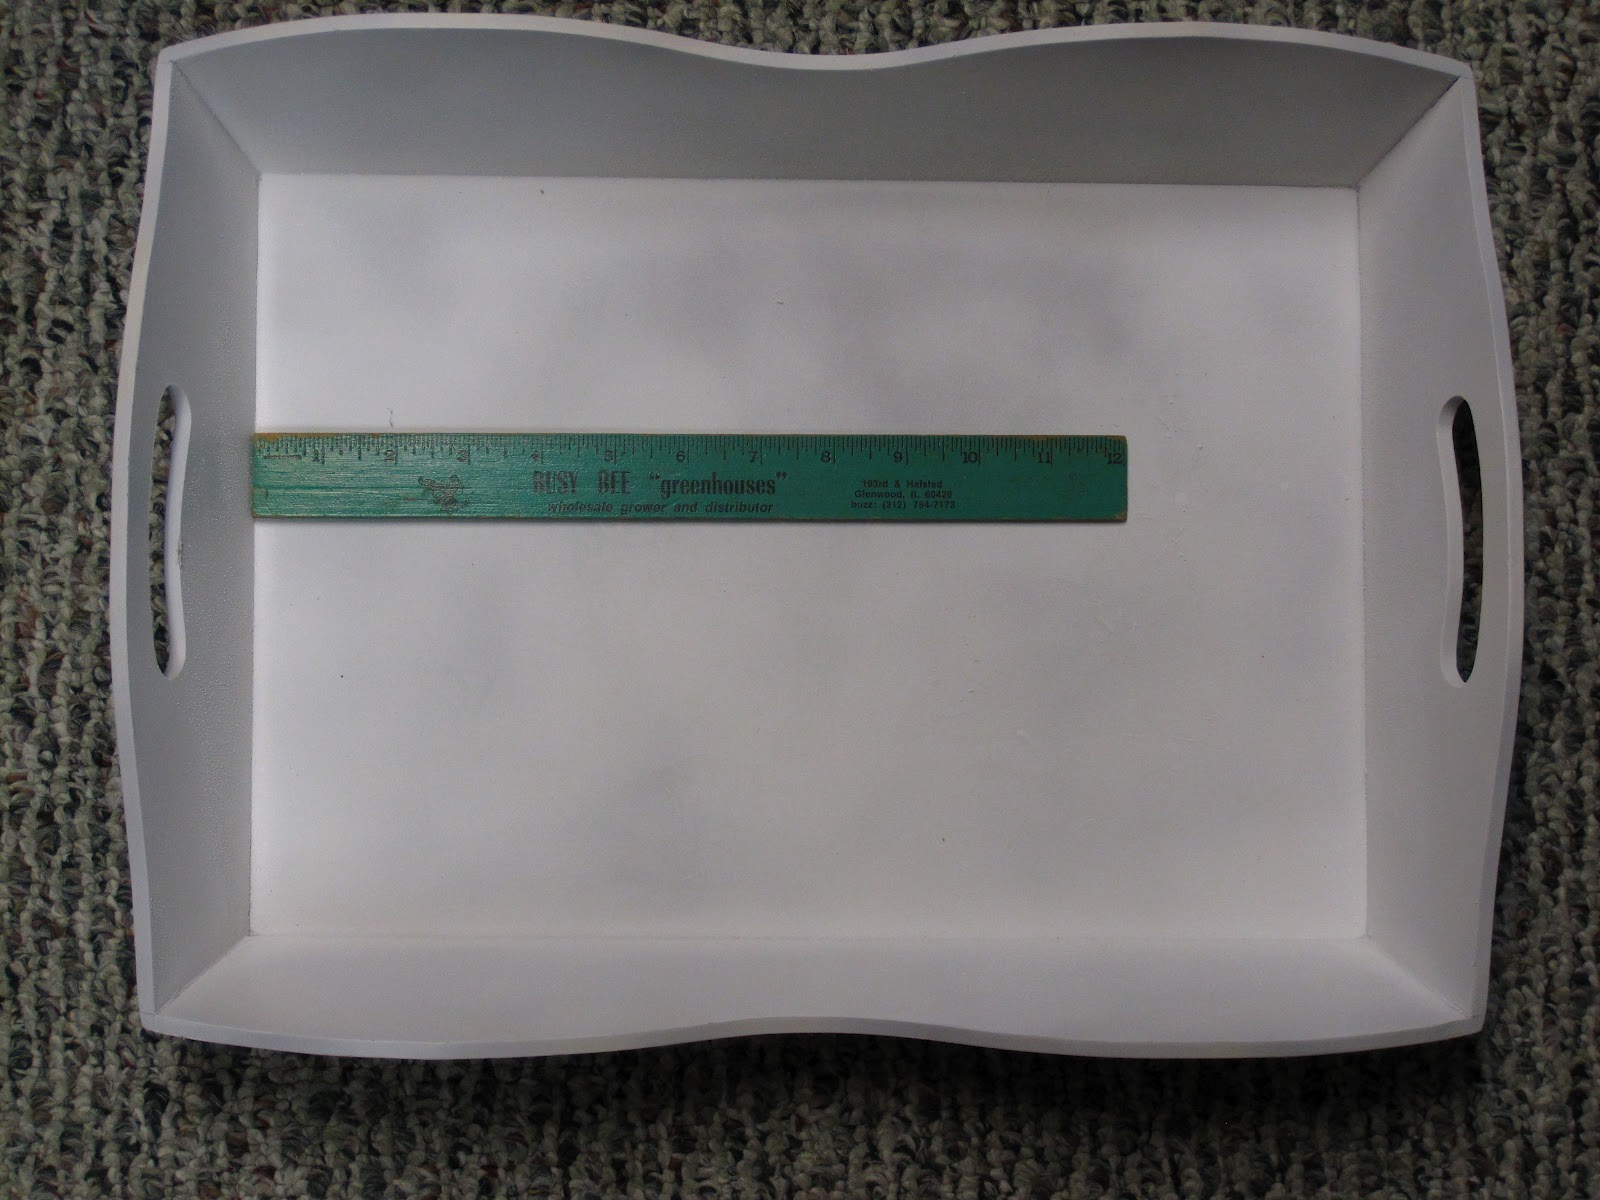
I kept weaving down until my band was about 16" long. (For reference,
my head where I would wear a headband of this type is about 21"
around.) You don't have to make the weave super tight, so pull in
downward a few times to loosen the weave. When your band is long
enough, put the other side of the hair tie between the strips and sew
the strips together. (Don't sew the hair tie itself.) Cut off the
excess fabric.

Apply a small amount of hot glue near the seam of the band and use a
small strip cut off from the excess to wrap around the seam. Flip it
over and glue the strip to the other side, and flip one more time and
glue so the strip covers the seam all the way around. Cut off any remaining fabric.


Repeat the process of covering the seam on the other side of the head band and you're done!